1. How do I add a menu to a Windows Program?
Menus are attached to dialogs, so you need to choose which dialog to attach the menu to. Start
the Developer Environment and open your program, then open the dialog in the Dialog editor and make
sure the toolbox is visible. The toolbox looks like this:
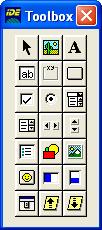
If the toolbox is not visible, use the View - Visual Object Toolbox command in the Developer
Environment to make it visible. After you can see the toolbox, click the Menuitem object
button to add a menu to the dialog. The Menuitem button is the one in the bottom left corner
of the toolbox. You will then see a blank menu appear near the top of the dialog you selected:
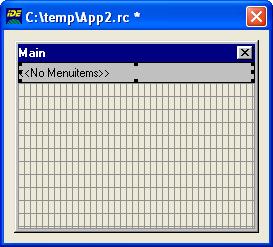
The blank menu initially contains no menu items. When the blank menu is visible, right-click it
with the mouse to bring up the menu editor. When the menu editor is visible, type in
&File next to Caption and click the Add button. Then go back to Caption and next to
Caption type in &Open, next to Enabled type in 1 and next to Name type in
File_Open and click Add again. In the list of items click on &Open to select it
(it will go blue), click on Move Down then click on Indent. The menu editor should
now look like this:
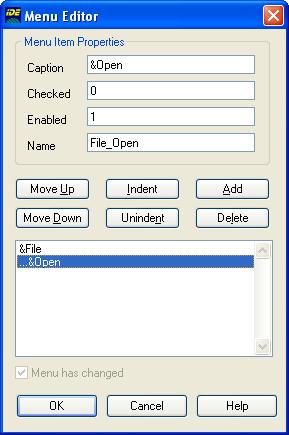
You have created a top level File menu with a single sub-menu containing the Open
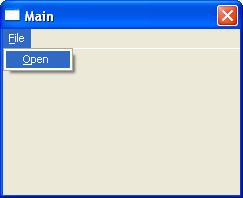
choice. Click OK to close the menu editor and click the Run button to save, compile and run the
program. The final program should have a menu command that looks like this:
2. How do I add a tool bar to a Windows Program?
Toolbars are easy to add with BitmapButton controls. A bitmap button is like an ordinary push
button that displays a bitmap instead of text. To create a toolbar:
- Edit the main window and make an area for the toolbar. If you look at other applications such
as WordPad and Microsoft Office, the toolbars go below the main menubar, so this is where you
should put the toolbar buttons.
- Add the BitmapButton controls to the window. Set the Picture property of each to the bitmap
that is displayed. Also set the ButtonStyle to "pushbutton" to make the BitmapButton work like a
normal pushbutton. The other styles allow a BitmapButton to stay down after being pressed, which is
not necessary for a toolbar.
- In the main window function the COMMAND_EVENT is fired whenever the BitmapButton is pressed.
Use the event to trigger the appropriate action for the toolbar button.
- It is also possible to specify tooltips for the items on the toolbar.
|